For many beginners, glazing is the moment pottery starts to feel like magic. A plain clay cup or bowl can become glossy, soft, earthy, bright, dramatic, or elegant depending on how the glaze is chosen and applied. But glazing is not just decoration. It affects how a ceramic piece looks, feels, functions, and even how durable it becomes after firing.
If you are joining a pottery class in Hanoi for beginners, understanding glazing will help you make smarter design choices from the start. Instead of randomly picking colors at the end of a workshop, you can shape, trim, and decorate your pottery with the final result in mind.
What Is Pottery Glaze?
Pottery glaze is a liquid coating made from minerals that melts in the kiln and forms a glass-like surface on ceramic ware. Once fired correctly, it can make pottery waterproof, food-safe, easier to clean, and more visually refined. In simple terms, glaze is what turns a raw bisque-fired object into a finished ceramic piece.
Most glazes contain silica, fluxes, and alumina, but what matters for beginners is how the glaze behaves on the surface of clay. Some glazes become glossy and reflective. Others become matte, satin, speckled, transparent, opaque, or reactive. Even the same glaze can look different depending on clay body, thickness, firing temperature, and kiln atmosphere.
Why Glazing Matters for Beginners
Many first-time students focus only on making the shape of a mug or bowl, but the finish matters just as much. A good glazing decision can elevate a simple form. A poor glazing decision can hide texture, muddy details, or create an overly heavy result. Learning a few core glazing principles early saves frustration and leads to stronger finished work.
- Glaze adds function: Important for cups, bowls, plates, and vases.
- Glaze adds personality: It helps your work look calm, rustic, playful, modern, or luxurious.
- Glaze affects texture: Smooth glossy surfaces feel very different from soft matte ones.
- Glaze supports storytelling: A piece made as a gift or souvenir feels more personal when the finish matches the idea behind it.
Main Types of Pottery Glaze
1. Transparent Glaze
Transparent glaze is ideal when you want to show the natural clay body or reveal decoration underneath, such as carving, stamping, slip details, or underglaze painting. It is one of the most beginner-friendly choices because it allows surface details to stay visible.
2. Opaque Glaze
Opaque glaze covers the clay more fully and gives a stronger block of color. This is useful when you want a clean, bold finish or when the clay body underneath is not visually important to the final design.
3. Gloss Glaze
Glossy glaze reflects light beautifully and often makes colors look richer. It is popular for mugs, cups, plates, and decorative pieces that benefit from a clean finished appearance.
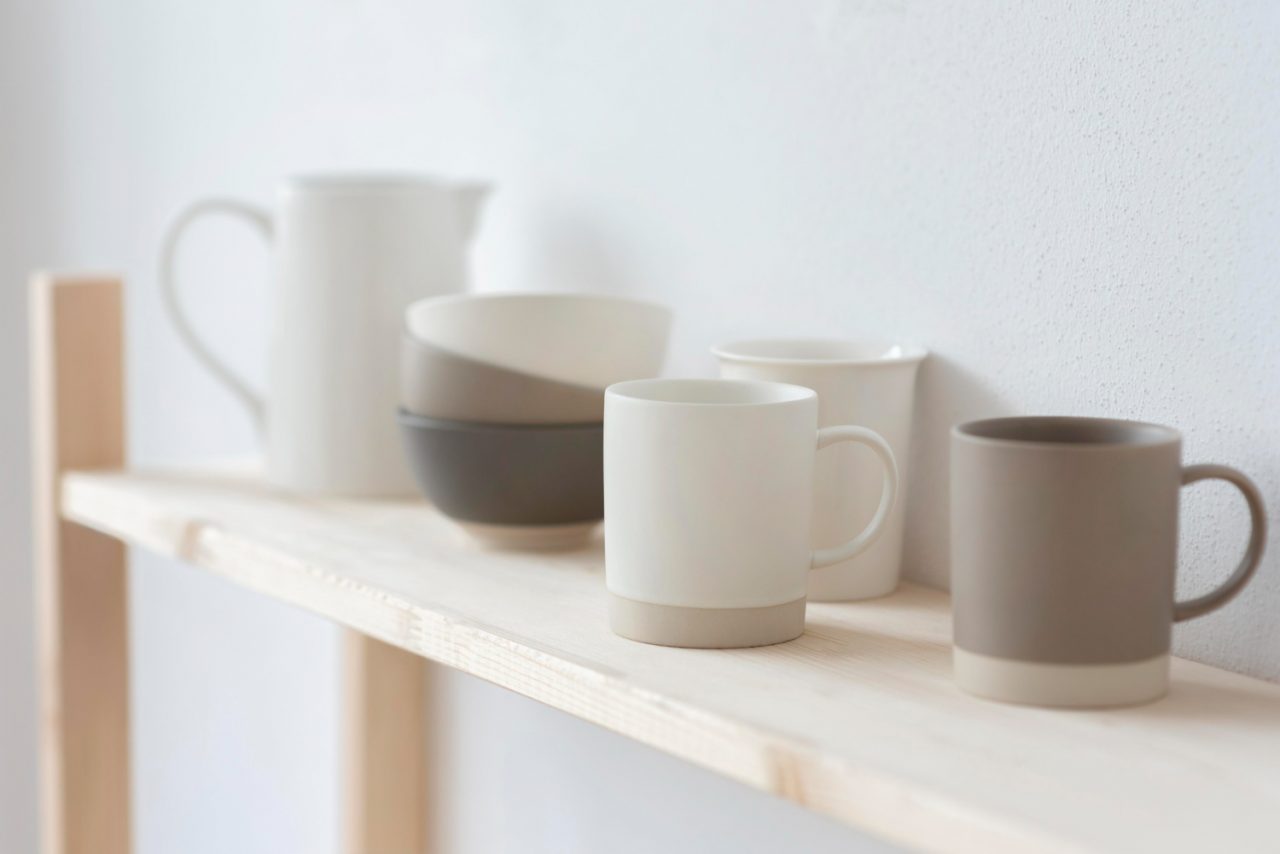
4. Matte Glaze
Matte glaze creates a calmer, softer, more contemporary look. Many students love matte surfaces because they feel subtle and elegant, especially on handmade tableware and minimalist ceramics.
5. Reactive or Layering Glaze
Reactive glazes change in interesting ways during firing. They may break over texture, create tonal variation, or produce subtle movement in color. These are beautiful, but beginners should learn first how thickness and overlap affect the final result.
When Is Glaze Applied?
In most beginner studios, glaze is applied after the first firing, known as the bisque firing. At that stage, the pottery is strong enough to handle but still porous enough to absorb glaze. This is why glaze usually coats the surface evenly when dipped, brushed, or poured onto bisque ware.
The usual sequence is:
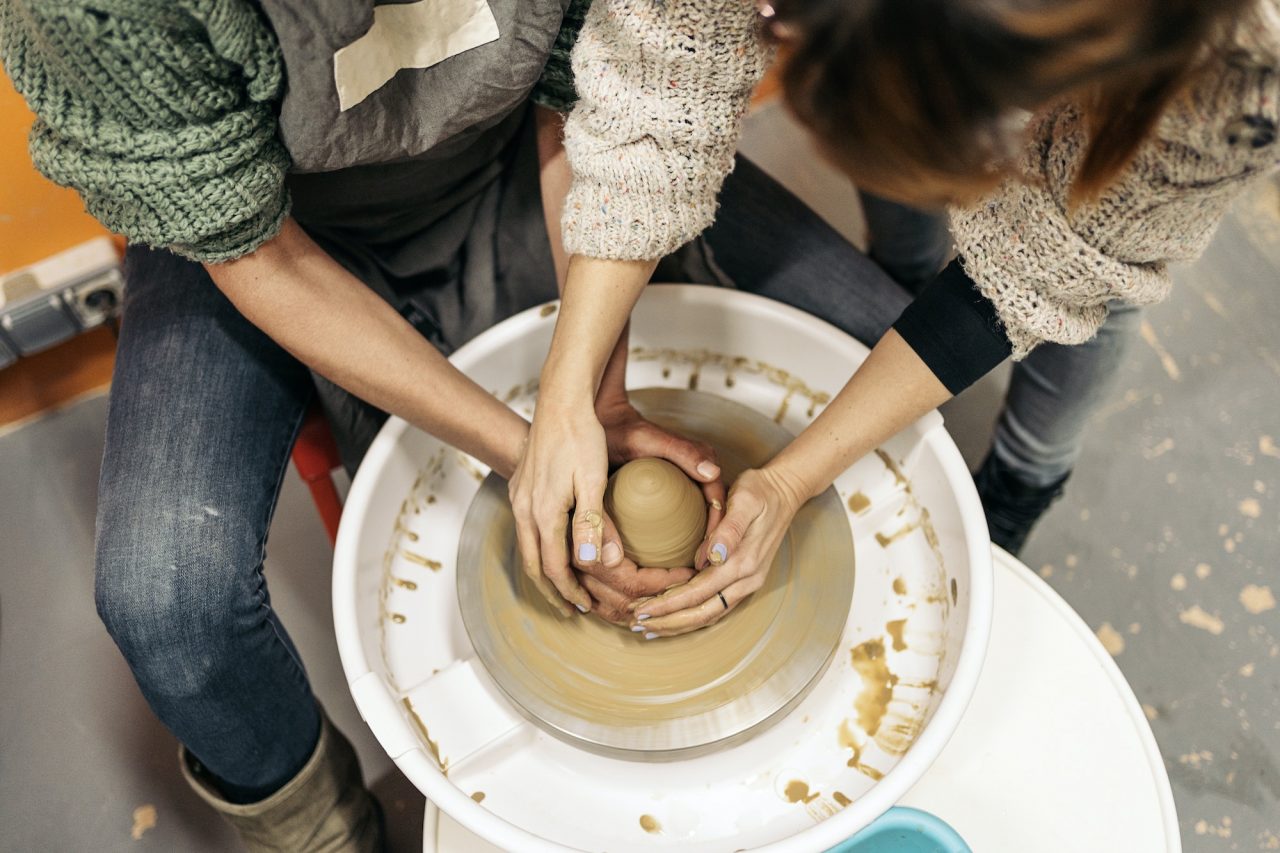
- Shape the clay by wheel throwing or hand building
- Let it dry to leather-hard, then trim or refine it
- Dry completely
- Bisque fire the piece
- Apply glaze
- Fire again to glaze temperature
If you are new to pottery, it also helps to understand the difference between making and finishing. The wheel stage is only the beginning. The glazing stage is where your design choices become visible and complete.
Most Common Glaze Application Methods
Dipping
Dipping is one of the fastest ways to achieve even coverage. The piece is held carefully and lowered into glaze for a few seconds. This method works well for mugs, bowls, cups, and many small objects. It is common in studios because it is efficient and consistent.
Brushing
Brushing is flexible and approachable for beginners. It is useful when only a few pieces need to be glazed, or when the design involves layering colors and painted areas. The key is to use several controlled coats instead of one heavy coat.
Pouring
Pouring is often used for interiors of cups, bowls, and vases. It can also create beautiful flowing surfaces on the outside. This technique is expressive, but you need to watch thickness carefully.
Sponging and Detail Work
Some studios use sponges, wax resist, trailing bottles, or carving tools to create more personalized surfaces. These methods are especially useful if you want your pottery to feel handmade in a visible and artistic way.
How to Choose the Right Glaze for Your Piece
Not every glaze suits every object. A good decision depends on purpose, shape, mood, and usability.
For mugs and cups
Choose glazes that feel pleasant in the hand and are reliable on functional ware. Smooth interior glazing matters because it affects cleaning and drinking comfort. If you are making a cup during a wheel throwing class, think about how the glaze will highlight the curve of the form.
For plates and bowls
Look for food-safe, durable finishes. Gloss or satin glazes are often practical choices. If the piece has carved decoration, a transparent or breaking glaze can enhance the surface beautifully.
For decorative objects
You can be more experimental. Matte, layered, textured, and reactive glazes work well on vases, sculpture, and display pieces because function is less restrictive.
For gifts and souvenirs
Think emotionally. Soft earth tones feel warm and timeless. Bright colors feel playful. A carefully chosen finish can make a handmade object feel much more premium and memorable, especially for travelers looking for a meaningful ceramic souvenir from Hanoi.
Beginner Mistakes to Avoid When Glazing
Applying glaze too thickly
Too much glaze can cause dripping, crawling, pinholing, or muddy results. Thick glaze also risks sticking to kiln shelves if it runs.
Forgetting to clean the foot
The bottom of the piece must usually stay glaze-free. If glaze remains there, the pottery may fuse to the kiln shelf during firing.
Ignoring drying time between coats
When brushing glaze, each coat needs a little time to settle before the next. Rushing causes uneven coverage and brush drag.
Choosing glaze without considering texture
A carved piece may lose visual depth under an overly opaque glaze. A smooth modern form may look better with a cleaner finish than a heavily reactive glaze.
Expecting fired glaze to match the wet color exactly
Wet glaze often looks very different before firing. This surprises many beginners. Always trust test tiles and studio samples more than the liquid appearance in the bucket.
How to Make Your Glazed Pottery Look More Professional
- Keep wall thickness even during forming
- Trim the base cleanly so the final piece feels intentional
- Choose 1 clear glaze direction instead of too many competing effects
- Use contrast thoughtfully: matte outside + glossy inside can work beautifully
- Let the form lead the finish; simple shapes often benefit from elegant glaze choices
- Study sample tiles before deciding
Learning Glazing in a Real Studio
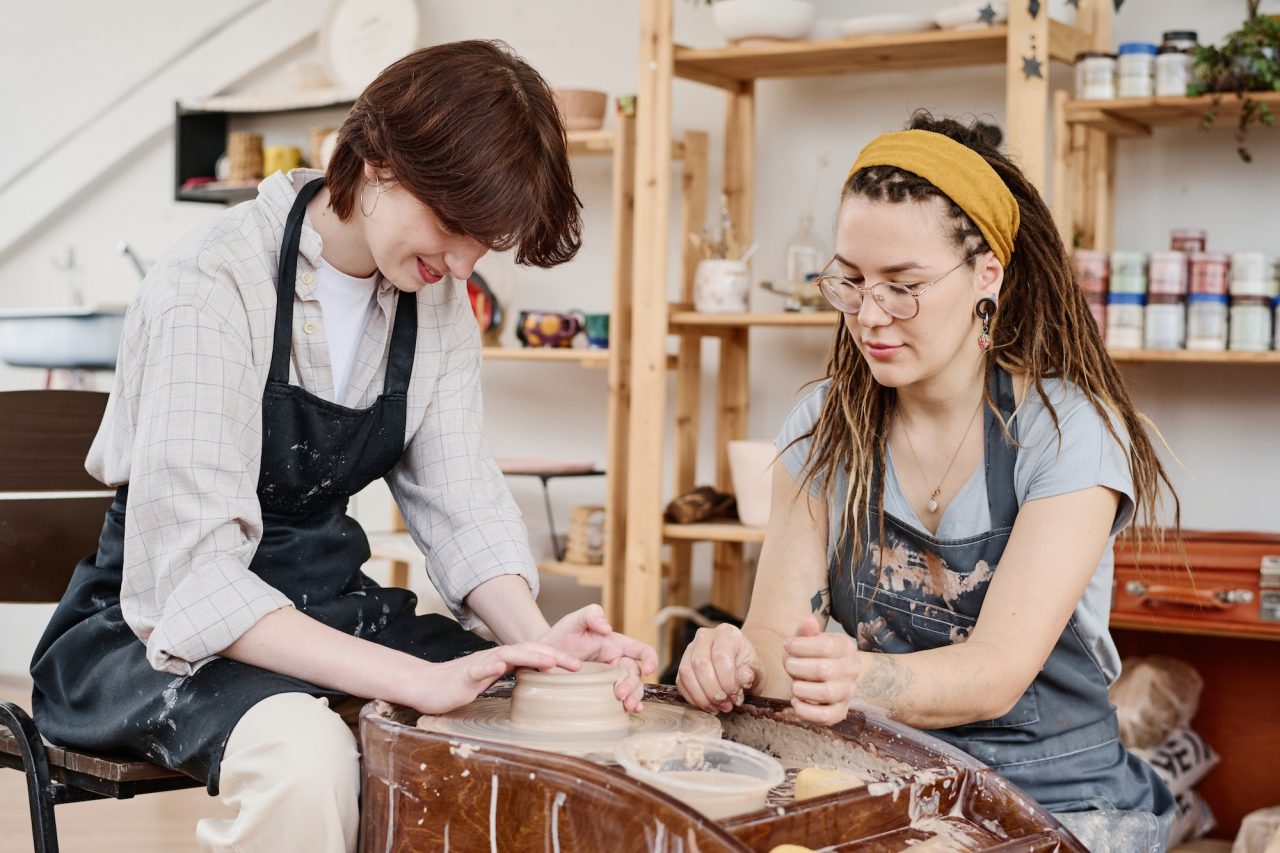
Reading helps, but glazing becomes much easier once you see real examples in person. In a studio, you can compare finishes side by side, observe how glazes pool around rims or break over texture, and understand how surface decisions affect the final ceramic character.
If you are exploring pottery in Hanoi, joining a guided workshop is the fastest way to move beyond guesswork. You learn not only how to shape clay, but also how to finish it with intention. That is the difference between simply making an object and creating a ceramic piece that feels complete.
Final Thoughts
Pottery glazing is where craft, function, and personal style come together. For beginners, the goal is not to master every glaze chemistry detail immediately. The real goal is to understand how surface choices change the feeling and quality of your work. Start simple, observe carefully, and let each firing teach you something new.
If you want to experience the full process in person, from shaping to finishing, join a beginner session at Baceraclass and discover how handmade ceramics become truly special through thoughtful glazing.